BLOG POST
Changing your business address on Google sounds simple, but the process changed significantly over the past few years and most articles online still describe the old workflow. The standalone Google My Business app and the dashboard at google.com/business were retired by Google — profile management now happens directly from Google Search and Google Maps when you're signed in as the verified owner. The "Info" menu, the "Set marker location" button, and the standalone app interface that older guides reference don't exist anymore.
This guide covers how to change your business address on Google in 2026: the current step-by-step process on desktop and mobile, what to expect when the change involves a significant move (Google often requires re-verification), how multi-location and service-area businesses should handle address changes, and what happens to your reviews, ranking, and customer data when the address updates.
The right approach depends on what type of change you're making. The four common scenarios:
If Google considers the address change significant, you'll be required to re-verify ownership at the new location before the change goes live publicly. Don't make address changes lightly — especially during the verification window for a separate process, since changes reset existing verification. If you're not ready to lose access for 5-14 days, time the change for a period when verification delays won't disrupt your operations.
The current workflow uses Google Search or Google Maps directly — not a separate dashboard or app. As long as you're signed into the Google account that owns the Business Profile, profile management appears in your search results.
The same process works on the Google Maps app and Google Search on mobile. The interface is slightly different but the workflow is identical.
Google's automated systems decide whether an address change requires re-verification based on signals like distance between old and new addresses, change in city or ZIP, account history, and detected fraud patterns. You won't always know in advance whether you'll be required to re-verify — it's revealed after you submit the change.
Google offers one or more verification methods based on your business category, location, and history. The four current options:
Video verification. Google sends a verification link prompting you to record a short video showing your business location (exterior signage), proof of management (you with a business document, key, or some authority indicator), and category-specific evidence like equipment, inventory, or workspace. Most common modern method. Reviewed within 5 business days.
Postcard verification. Google mails a postcard with a 5-digit verification code to the new business address. Postcards typically arrive within 5-14 days. Enter the code in your verification screen to complete.
Phone or email verification. Available for some categories and businesses with established Google account history. Google calls or texts a verification code to your business phone, or sends an email. Same-day completion when available.
Instant verification via Google Search Console. Available if you've already verified your website domain in Google Search Console and the email used to claim your Business Profile matches a verified Search Console user. Verifies immediately when offered.
You don't choose the method — Google offers the methods available for your business. If multiple are offered, pick the fastest one. For complete coverage of the verification process, see our guide to claiming your Google Business Profile, which covers all four methods in depth.
This is the tricky part: while re-verification is pending, your old address may still be displayed on your public profile, your new address won't show yet, and editing the address again resets the verification clock. Don't make additional changes during this window — let verification complete first. Most businesses experience a few days of "no change visible to customers" during this period, which is normal.
Each location has its own separate Google Business Profile with its own address. To change one location's address, search for that specific location's profile (not the corporate or other locations), and follow the same edit process. The change only affects the profile you edit — other locations stay as they were.
For 10+ locations, Google offers bulk editing through Business Profile Manager. Changes to many locations at once can be submitted via spreadsheet upload, but each location's verification still happens independently if any of them trigger Google's re-verification systems.
If you're a service-area business (plumbers, electricians, mobile services, cleaning, lawn care), you have two different things you might be changing: your verifiable address (typically your home or commercial office, often hidden from public view) or your service area (the geographic region you serve).
Changing the hidden verifiable address: follow the standard address-change process above. Re-verification is common because the physical location changed.
Changing the service area only: use the "Service area" section of your profile, not the address field. Service areas can be defined by ZIP code, city, county, or geographic radius around your address. Changes to service area don't require re-verification — you're not claiming a new physical location, just describing where you serve customers.
If you're a home-based business with a hidden address, the process is the same as service-area businesses. Make sure your address remains hidden after the update — Google's policy specifically permits hiding home-based business addresses, and exposing them creates privacy concerns.
Updating your business address doesn't delete your reviews, photos, posts, or profile history. Everything stays attached to the same Business Profile — the address field updates, but lifetime review volume, customer photos, Q&A, and all other profile content remain intact. Your local rankings may shift as Google re-evaluates relevance at the new location, but the reputation you built stays with you.
Changing your address on Google Business Profile is step one. Your business name, address, and phone number (NAP) needs to match across every place your business is listed online — or local rankings suffer. The audit list:
Your website. Footer, contact page, schema markup, location pages.
Other review platforms. Yelp, Facebook, BBB, industry-specific platforms (Healthgrades, Avvo, TripAdvisor, etc.) all need the same address.
Directory citations. Yellow Pages, Bing Places, Apple Maps, MapQuest, Foursquare, and the major data aggregators (Data Axle, Localeze, Factual). Inconsistent NAP suppresses local rankings across all platforms.
Social media. Facebook, Instagram, LinkedIn business pages, Twitter/X profiles.
Industry-specific directories. Whatever vertical-specific platforms your business uses (Mangomint, Boulevard, Vagaro for salon/spa; Zillow, Realtor.com for real estate; ZocDoc, Vitals for medical).
Google Ads and other paid platforms. Location extensions in Google Ads, Bing Ads, Meta Ads. These often reference the Business Profile but in some cases need separate updates.
Email signatures, invoices, and printed materials. Less critical for SEO but important for customer perception.
For the full local marketing framework that NAP consistency fits into, see our local online marketing framework.
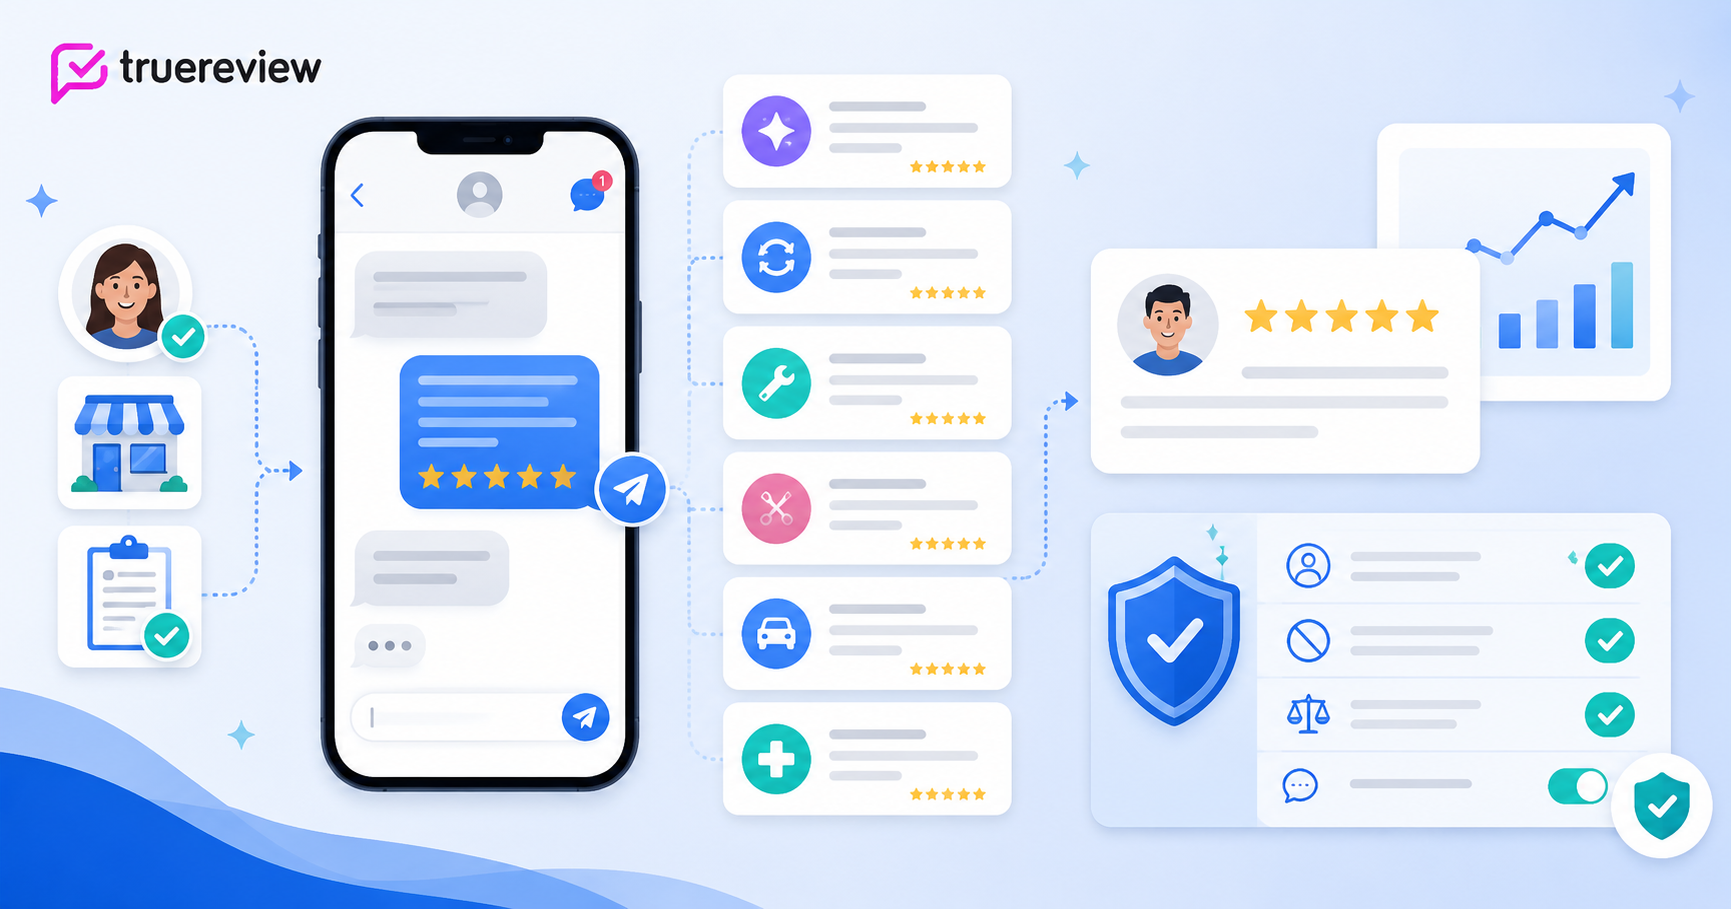
Address changes can temporarily affect your local rankings as Google re-evaluates your relevance signals. Strong, recent review velocity helps you recover faster. TrueReview automates compliant SMS and email Google review requests after each customer event, surfaces incoming reviews in a unified dashboard, and includes AI-assisted response generation. Start a free trial.
An address change is often a good moment to audit and update other profile fields that may have drifted. The fields worth reviewing:
Business hours. Including special hours for holidays, seasonal changes, or "more hours" sections (delivery hours, drive-thru hours, etc., for businesses where this applies). Same edit interface — click into the hours section, update, save.
Phone number. If you changed phones with the move. Use a local-area-code business number, not a personal cell.
Photos. Add exterior photos of the new location, interior shots if customer-facing, and any visible signage that differs from your old location. Profiles with fresh, location-accurate photos perform better.
Description. If your description references the old location's neighborhood, surrounding landmarks, or specific area details, update it to reflect the new location.
Services list and attributes. If the move changed any of your offerings (e.g., gained parking, gained outdoor seating, lost wheelchair accessibility), update those attributes.
Categories. If the move involves any change in business focus, your primary or secondary categories may need adjustment. Categories are the single biggest relevance lever, so get them specific.
For the complete profile optimization framework, see our complete guide to Google Business Profile.
If you're not just moving but actually closing the business or that location, the process is different. You don't delete the profile — instead, you mark the location as permanently closed (or temporarily closed if it's seasonal or temporarily shut down).
From your Business Profile management view, look for "Close or remove this listing" or "Mark as closed." Permanently closed profiles remain visible to customers but display a "Permanently closed" indicator and remove the location from active local rankings. This is the right path if you're shutting down rather than relocating.
If you're relocating but keeping the same business identity, do not mark the old location as permanently closed before completing the address change — you'll lose review history and ranking momentum. Update the address; don't close and re-create.
If you're operating multiple locations and want to remove just one (e.g., closing one branch while keeping others), use the per-location close option for the specific location's profile. Other locations are unaffected.
Patterns that cause problems for businesses changing their address:
Editing the address during another verification's pending window. If you've recently claimed the profile, requested a postcard, or initiated any other verification, an address change resets that process. Wait for the original verification to complete first.
Closing the old profile and creating a new one for the new address. This loses all your review history, photos, posts, and ranking signals. Update the address; don't recreate.
Treating a service-area change as an address change. If your physical location didn't change but you serve different customers, update the service area — not the address. Otherwise you may trigger unnecessary re-verification.
Keyword stuffing the address field. "123 Main St. (Behind Walmart, Best Plumber in Miami)" violates Google's policy. Use your actual legal address only, with no marketing copy.
Forgetting NAP consistency across the web. Updating Google but leaving Yelp, Facebook, BBB, and directories with the old address suppresses local rankings across all platforms. Audit and update everywhere.
Not updating customer-facing materials. Your website, business cards, invoices, vehicle wraps, signage, marketing emails — all need the new address.
Making multiple changes during a single editing session. Updating address, hours, category, name, and phone all at once during a single edit can trigger Google's "high-risk change" detection and result in more aggressive verification. If possible, change one or two things at a time.
Expecting changes to be instant. Even minor edits go through Google's review queue. Significant moves require re-verification that can take 5-14 days. Plan for the lag — don't direct customers to the new address publicly until verification completes.
Ignoring map pin placement. Google's automated geocoder is reasonably accurate but not perfect. In business parks, multi-tenant buildings, or rural locations, drag the pin to the exact location so customers using "Directions" don't end up at the wrong door.
Deeper coverage by topic:
Claiming and verifying your profile: our complete guide to claiming your Google Business Profile covers all four verification methods in depth.
Full profile optimization: our complete guide to Google Business Profile.
Google Maps specifically: our complete guide to Google Maps marketing covers how the local algorithm decides who appears in the local 3-pack.
Reviews and local rankings: our complete guide to Google business reviews and our guide to getting more Google reviews.
The bigger picture: our complete local online marketing framework.
Address changes are often the worst time to lose review momentum — new location, fresh start, prospects discovering you for the first time. TrueReview automates compliant SMS and email Google review requests after each customer event, surfaces incoming reviews in a unified dashboard, and integrates with Mangomint, Boulevard, Vagaro, Zillow, Realtor.com, and 8+ other booking and CRM platforms. Start a free trial — setup takes about 15 minutes.